

Choose its position
Place the guide above, below, left, or right of the selected control.
WalkthroughsCallout placement
Place each guide where it works best around its target.
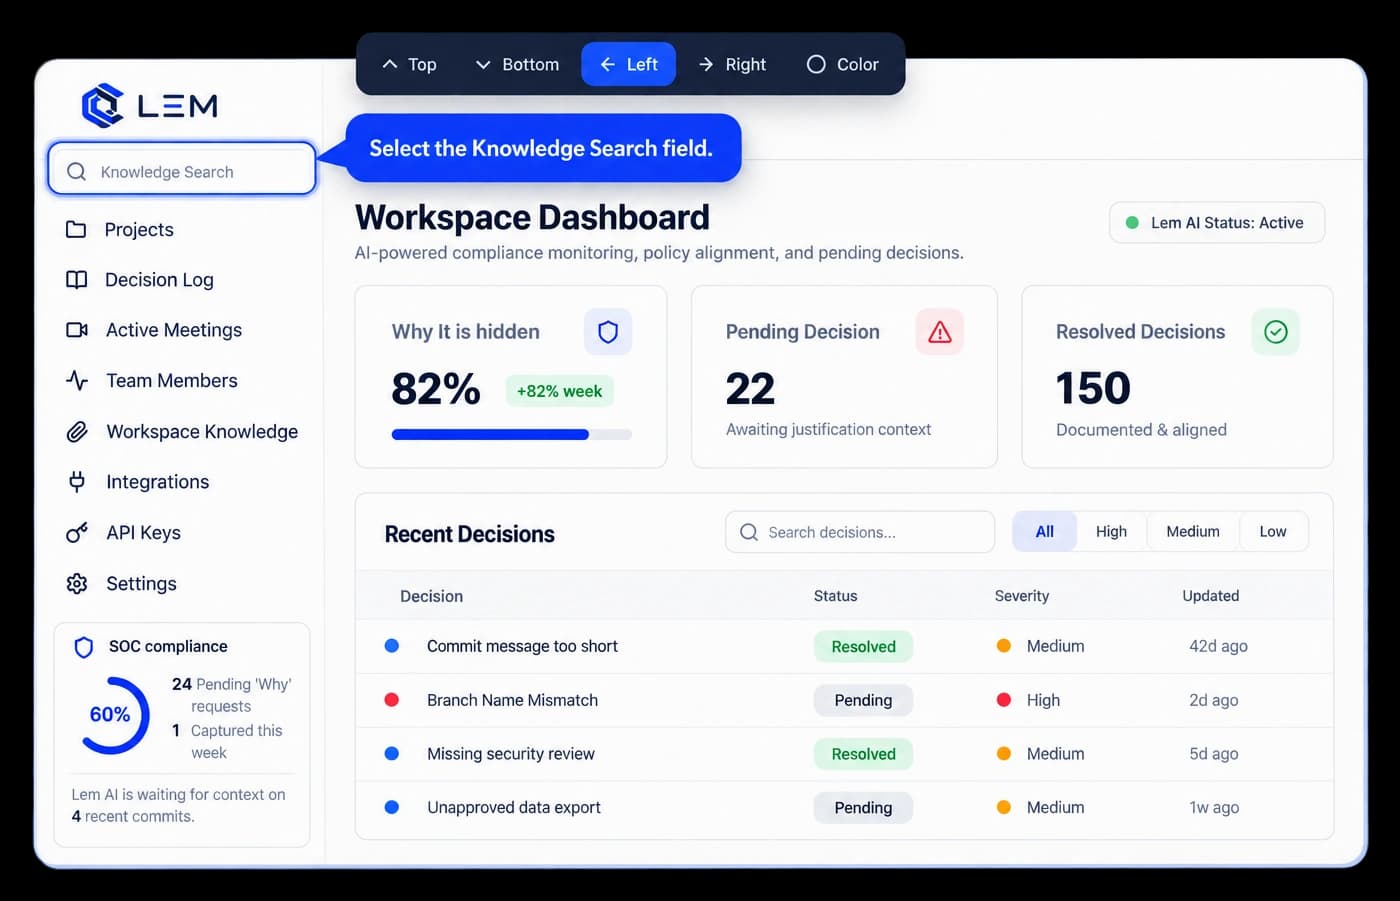
Keep guidance close to its target
A guide works best when it is easy to connect to the control it describes. Choose whether it sits above, below, to the left, or to the right of the selected element, then review the whole screen in context.
Place the guide above, below, left, or right of the selected control.
Review the selected element and its explanation together.
Use the guide controls to choose a color that suits the walkthrough.
Place it in context
The editor shows the selected target with its guide placement controls. Compare the available positions and keep the instruction beside the point it refers to.
Inside the workflow
Choose a target in the captured screen, set the guide position, and review the result before sharing.
Choose the walkthrough step that contains the control.
Place the guide at the top, bottom, left, or right of its target.
Check that the instruction and selected control read clearly together.
Product video
Record the control, the change it makes, and the result on screen.
smart-callout-guides.mp4Where it helps
Choose a placement that keeps the control and the explanation easy to connect.
Product onboarding
Help center guides
Sales walkthroughs
A few useful details
Set a guide above, below, to the left, or to the right of the selected element.
Yes. Choose and review the placement for the selected target in each step.
Yes. The editor includes a color control for the guide.

Build interactive walkthroughs, personalize prospect links, and export 60 FPS motion videos without writing code or waiting on engineering.